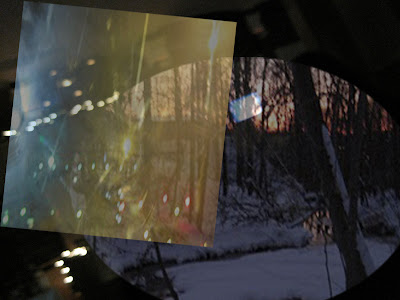


Instructions for making a photomontage using the marquee tool and copy & paste
1. Open Photoshop
2. Open your image by going to the File menu and selecting Open.
3. Choose File and click Open
(repeat steps 2 and 3 to open a second and third file)
4. Make sure the Layers Palette is visible, if not go to Window - > Layers
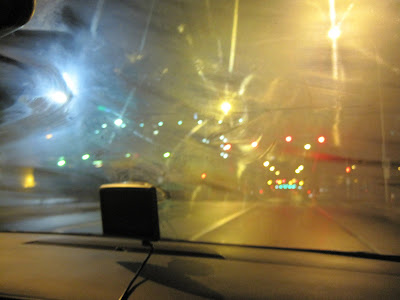
(The mostly black image will be your background layer. You will be using the Marquee Tool to add selections from the other 2 images on top of the background layer).
Add the 1st selection:
5. Select the Marquee Tool from the Tool Palette (the rectangle, keyboard shortcut is the letter M)
6. Click and drag the Marquee Tool across the image of the windshield, making a rectangle (this area inside the rectangle is your selection. Let go of the mouse.
7. Use the keyboard shortcut CNTRL + C or Command + C to copy the selection.
8. Click on the background image (the mostly black image).
9. Use the keyboard shortcut CNTRL + V or Command + V to paste the selection.
10. Use Free Transform (CNTRL + T or Command + T) to adjust the size of the selection. Click and drag the corners out to change the size. Hit the ENTER/RETURN key to apply the transformation.
11. Select the Move Tool from the Tool Palette (it looks like an arrow and the shortcut is the letter V).
Use the Move Tool to change the placement of the selection.
12. Adjust the Opacity of the top layer in the Layers Palette by selecting the top layer and then dragging the opacity slider to the left.
Add the 2nd selection:
13. Click and hold down on the Marquee Tool to select the Eliptical Marquee (it is the oval).
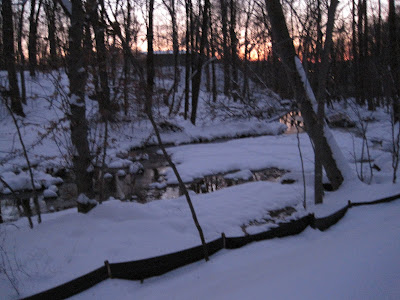
14. Click and drag the Marquee Tool across the image of the woods, making an oval (this area inside the rectangle is your selection.) Let go of the mouse.
15. Use the keyboard shortcut CNTRL + C or Command + C to copy the selection.
16. Click on the background image.
17. Use the keyboard shortcut CNTRL + V or Command + V to paste the selection.
18. Use Free Transform (CNTRL + T or Command + T) to adjust the size of the selection. Click and drag the corners out to change the size. Hit the ENTER/RETURN key to apply the transformation.
19. Select the Move Tool from the Tool Palette (it looks like an arrow and the shortcut is the letter V).
Use the Move Tool to change the placement of the selection.
20. Adjust the Opacity of the top layer in the Layers Palette by selecting the top layer and then dragging the opacity slider to the left.
Save the image:
21. Save your image by going to the File menu and Save As (Choose JPEG for finished images and PSD for unfinished images). For JPEG save the image at the highest size (Size 12).
***REMEMBER YOU CAN ALWAYS GO BACKWARDS ONE STEP WITH THE KEYBOARD SHORCUT CONTROL + Z or COMMAND + Z***